Someone missed the trip, the wedding or the Sunday lunch, and the best photo of the day has an empty spot in it. A few years ago that meant hours in an editor, cutting out strands of hair and guessing where the shadow should fall. Now AI tools to add a person to a photo handle most of that work from two uploads and one short instruction.
This 2026 comparison covers seven options: Fotor, Imagine.art, Canva, Remove.bg, Midjourney, Photoshop Generative Fill and Gemini. They do not all work the same way. Some place a finished person into your scene, some only cut the person out, and one builds a new person from a written description. Every claim about a tool comes from the official page of that tool, and where a page stays silent I say so instead of guessing. The right AI tool depends on the photo you start with.
A free tier matters more than a long list of features when you only need one edit, so I note the cost of every option. The same tools can add someone to a picture for a card, a poster or a shop listing, and only one of the seven needs Photoshop itself. After the comparison you will find a step by step method, ready prompts, tips for realistic lighting and a short section on permission.
Quick Answer: Best AI Tools to Add a Person to a Photo
If you want one name, start with Gemini for a free try, Fotor for a group photo and Generative Fill when you want full control. For a plain request to add a person to a picture, the list below shows how the seven tools differ.
- Fotor – Group photos and several people at once
- Imagine.art – Two uploads and one click, with no prompt box mentioned
- Canva – Layers by hand for posters, cards and social posts
- Remove.bg – Clean cutouts only, and the standalone site closes on 1 December 2026
- Midjourney – Edit model with up to four reference images
- Photoshop Generative Fill – Most control, with a choice of models and layers
- Gemini – A free starting point with a daily quota
Read the Remove.bg item before you build a workflow around it. The reason is explained in its own section below.
How AI Adds a Person to a Photo
There are two routes. The first is the cutout route. The tool finds the person in one photo, removes the background and gives you a clean shape that you drop on another picture. You then move it, resize it and fix the color by hand. Fotor, Canva and Remove.bg lean this way. The second is the generation route. You upload two photos, or one photo and a description, and a model builds a new image where the person stands inside the scene. Imagine.art, Midjourney, Gemini and Generative Fill work like this. Some people call this kind of tool an image combiner or a photo merger.
To add a person to a photo with AI you pick one of these two routes, and each has a clear weak spot. A cutout keeps the original face untouched, which matters in a family portrait, but a person lit from the right looks wrong in a room lit from the left. A generated image fixes lighting, shadow and perspective on its own and often gives a more realistic blend, yet the model may redraw the face a little, so check it at full size before you share it. You can also combine both: cut out first, then let a model clean up the blend.
Describing a result in plain words now drives many AI tools, from photo edits to live translation. A model can add someone to a picture in seconds when the lighting and camera angle of both photos are close. When they are far apart, the same model needs more help from you.
What to Look for in an Add Person to Photo Tool
Natural Blending
A realistic edit depends on three things: lighting, shadows and perspective. Look at the lighting first. The added person should receive light from the same side as everyone else, with the same warmth. Mismatched lighting is the first thing viewers notice. Then check shadows. A person with no contact shadow under the feet looks like a sticker. Finally check perspective: a person shot from above will not fit a background shot at eye level.
Clean Edges
Hair, loose sleeves and hands are where cheap cutouts fail. Zoom in to 100 percent and look for a pale halo or a ragged outline. A tool that gives you a transparent PNG makes this check easy, because you can place the cutout on a dark and a light background and see the problem right away.
Free Tier and Watermarks
Free often means a small number of credits, a lower resolution or a visible mark on the export. Make one test export before you spend an hour on a full edit. The seven tools below differ a lot here, and the details are in each section.
Privacy and Data Handling
You are uploading faces, often of children and relatives. Read how long the service keeps uploads and whether they can be used for training. If the policy is vague, pick another tool or delete the files after the edit.
The 7 Best AI Tools to Add a Person to a Photo
The order below follows how often each tool fits a normal request, not a ranking of quality. Each review has a short table and a list of pros and cons, and it says what the official page confirms and what it leaves out.
1. Fotor for Group Pictures
Fotor has a page built for one job, and the page is called Add Person to Photo. You upload a picture of the person, the tool crops the person out on its own, then you upload a background or pick a preset one. After that you change the size, the orientation and the position until the person fits the scene. The page says you can insert several people at once, so multiple people from separate files can end up in one picture, and it also accepts a pet or an object such as a bag. That makes Fotor a sensible pick when the missing person and the rest of the group are in different files.
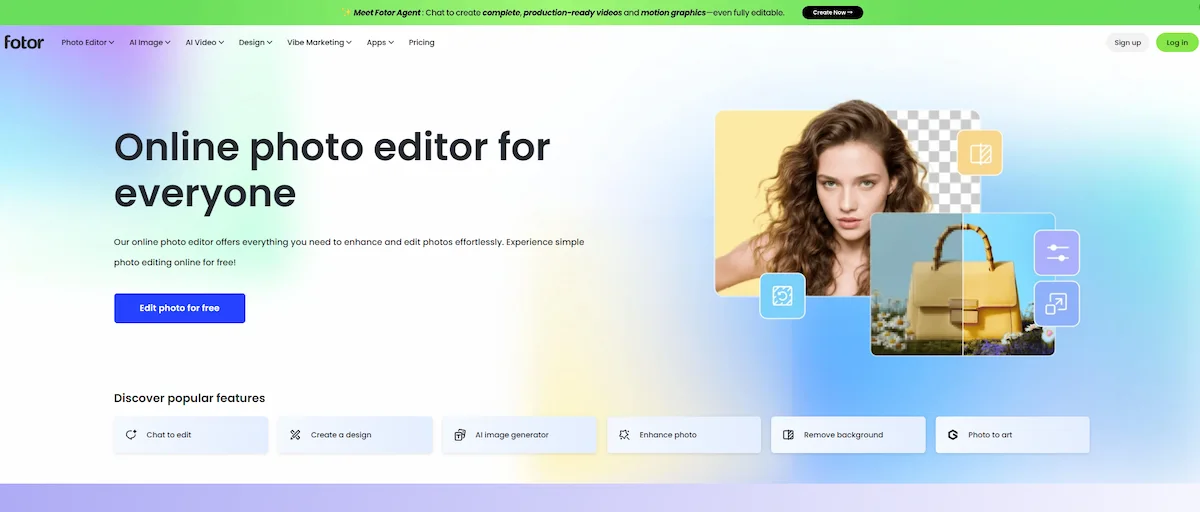
Cost needs a check, because the sources disagree about the watermark.
| Detail | What to know |
|---|---|
| Approach | Automatic cutout, then a new background, preset or your own |
| Cost | The page says free and watermark-free, while a February 2026 review reports watermarks on the free tier |
| Multiple people | Yes, several at once, plus pets and objects |
| Best for | Group photos with a missing person |
Pros
- Built for this exact job
- Automatic cutout
- Preset background library
- Several people in one go
- Size, orientation and position can be changed after placing
Cons
- Less control over exact placement
- Some features sit behind a paywall
- Watermark claims differ between sources
2. Imagine.art for a Fast Merge
The Imagine.art image combiner takes two uploads, a first image and a second image, and each file can be up to 30 MB according to its page. You press generate and the tool blends lighting, depth and color so the result reads as one unified scene instead of a collage. The FAQ says to upload a portrait and a background, and the tool places the person in the new scene.
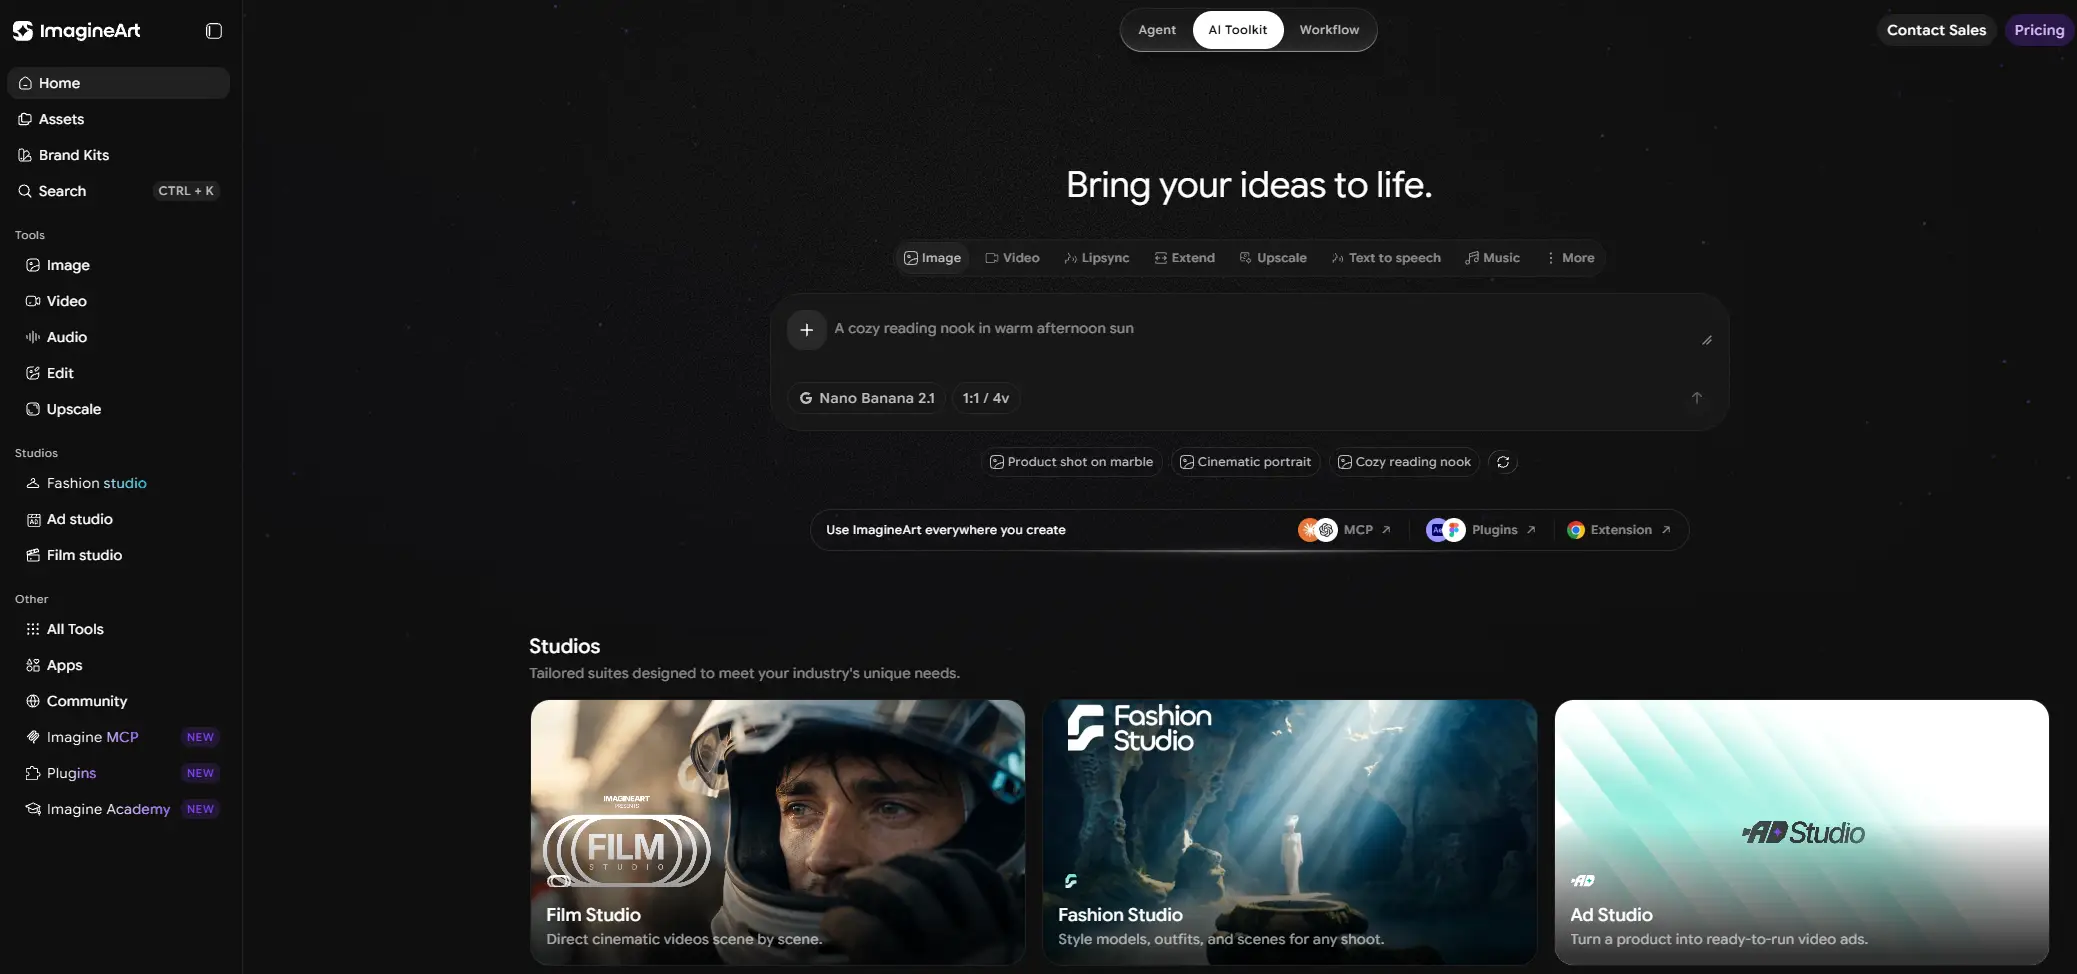
This AI tool fits a quick try when you want to add a person to a picture and the exact position matters little. If the person lands in the wrong spot, you generate again or move to a tool with a prompt box.
| Detail | What to know |
|---|---|
| Approach | Two uploads, one click, generated blend |
| Cost | 100 free credits at sign-up, with plans on the pricing page |
| Prompt box | Not mentioned on the page |
| Best for | A quick merge of a portrait and a scene |
Pros
- Very few steps
- Blends lighting, depth and color
- Files up to 30 MB each
- 100 free credits at sign-up
- Result reads as one scene, not a collage
Cons
- No prompt box mentioned
- Watermark rule not stated
- No stated way to choose where the person stands
3. Canva for Layers and Small Edits
Canva is a design editor first, so the usual way to put a person into another photo is manual. You upload both pictures, drag the person over the background, resize and lower the transparency a little while you line things up. If you want to add someone to a picture for a poster, a card or a social post, this gives you the most direct control over layout.
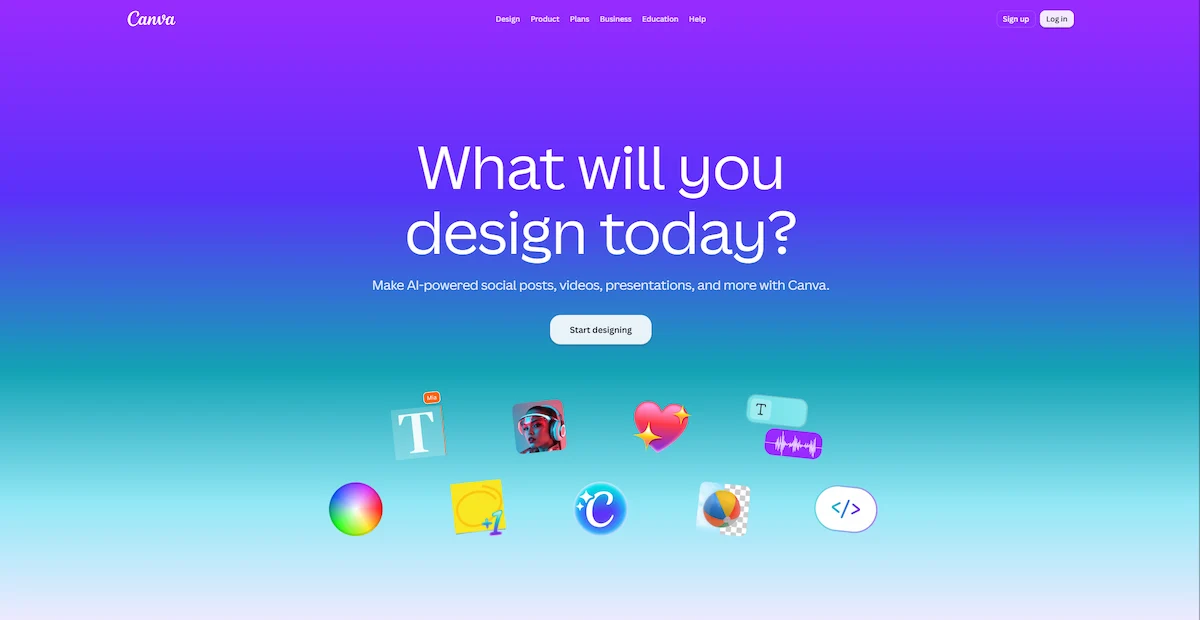
Magic Edit works differently: you brush over an area, describe what belongs there and press generate. The Canva help page warns that faces and hands may not look right and suggests small additions, such as a hat on a person who is already in the photo. Use Magic Edit to repair the background around a cutout, and use layers for the person.
| Detail | What to know |
|---|---|
| Approach | Manual layers and cutouts, plus Magic Edit with a brush and a prompt |
| Cost | The help page names no plan, and access can depend on account and team settings |
| Works in | Browser and app |
| Best for | Posters, cards and social posts |
Pros
- Full control over layout
- Resize and transparency set by hand
- Magic Edit repairs small areas of the background
- Works in browser and app
- Magic Edit offers whole image, brush or click selection
Cons
- Magic Edit is weak on faces and hands
- Edited areas may look more pixelated than the rest
- Lighting and color are matched by hand
- Access can depend on team settings
4. Remove.bg for Clean Cutouts
Remove.bg does one job. Its homepage says it removes an image background automatically in about five seconds with one click, and you can save the result with a white or a transparent background. It does not place the person into another photo, so treat it as step one: cut the person out here, then drop the PNG on a background in Canva, Fotor or any editor.
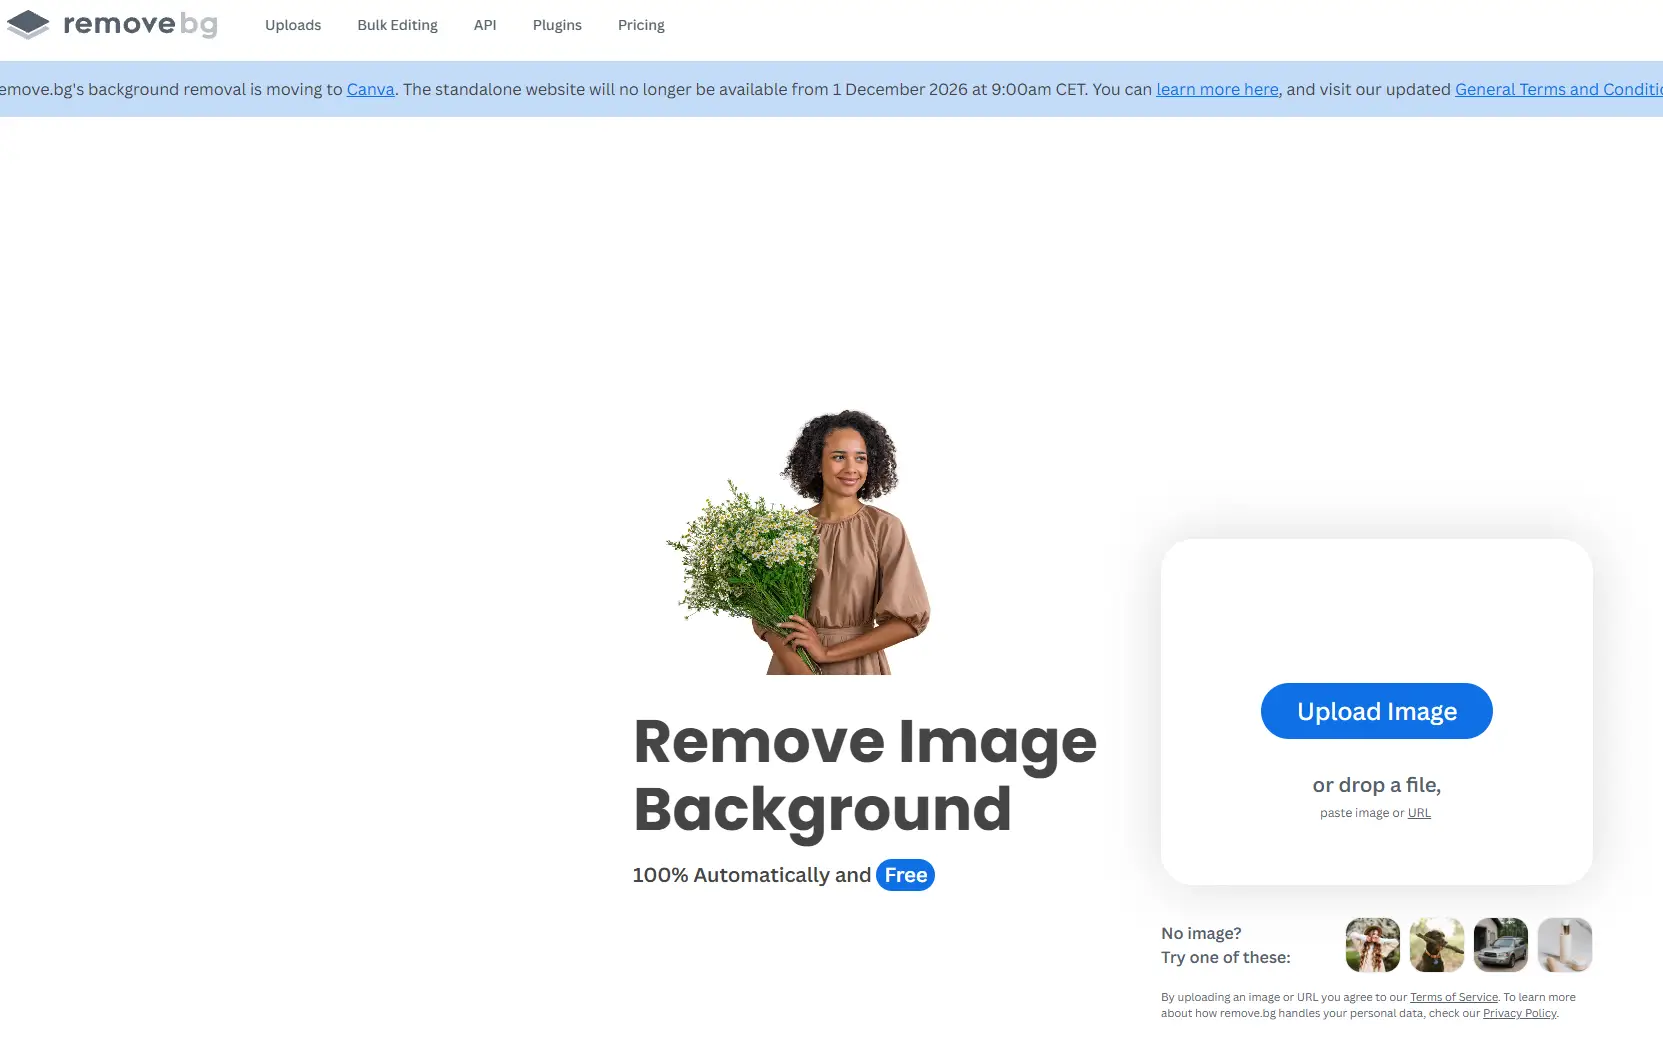
One date matters more than the quality numbers. The page says the standalone website will no longer be available from 1 December 2026, and that background removal is moving to Canva. If you plan to use Remove.bg, read that notice first and keep Canva as the backup.
| Detail | What to know |
|---|---|
| Approach | One-click background removal |
| Cost | One free credit for new users, with plan prices on the pricing page |
| Quality | Good Quality up to 0.25 megapixels, Best Quality up to 50 megapixels |
| Best for | A clean cutout as step one |
Pros
- About five seconds per image
- Transparent or white background
- Files up to 22 MB
- Best Quality up to 50 megapixels
- One click, no settings
Cons
- Does not place the person in another photo
- Standalone site closes on 1 December 2026
- Page does not say which quality tier the free credit covers
5. Midjourney for Creative Scenes
Midjourney is known for making images from text, but its documentation has a section about using your own pictures, called Using Your Own Images. Omni Reference lets you add a person or an object to your images, and for version 8 the page sends you to the Edit model instead. The Edit model changes an image, or combines several, from a written description, and the Character Reference page adds that it includes the older features and accepts up to four reference images. Expect more trial and error than in a one-click tool.
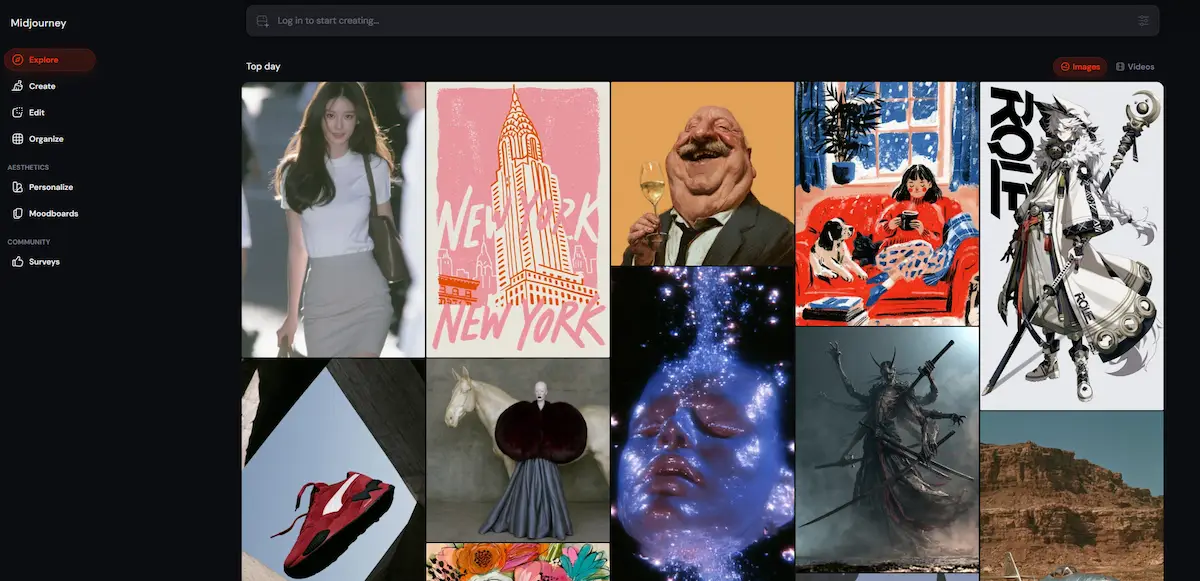
Midjourney suits a creative scene, for example a friend standing in a painted street, more than a quick fix for a family photo.
| Detail | What to know |
|---|---|
| Approach | Edit model with written instructions and reference images |
| Cost | Not listed in the documentation pages used here, so check the plan page |
| Versions | The Edit model works with 8.1 and 8.2 |
| Best for | Creative scenes |
Pros
- Can add a person or an object from your own images
- Up to four reference images
- Includes the older Omni Reference and Character Reference features
- Edits or combines images from a written description
- Suits creative scenes
Cons
- More trial and error
- On Discord the image must already be online as a valid URL
- Edit results do not work with Remix yet
- Not the quickest fix for a family photo
6. Photoshop Generative Fill for Control
Generative Fill is the choice when you want the most control. You select the area where the person should appear, open Generative Fill in the contextual task bar, choose a model, write a short prompt and press generate. The Adobe help page for the desktop app lists Firefly models and partner models in that picker, including FLUX.2 pro and Gemini versions with Nano Banana.
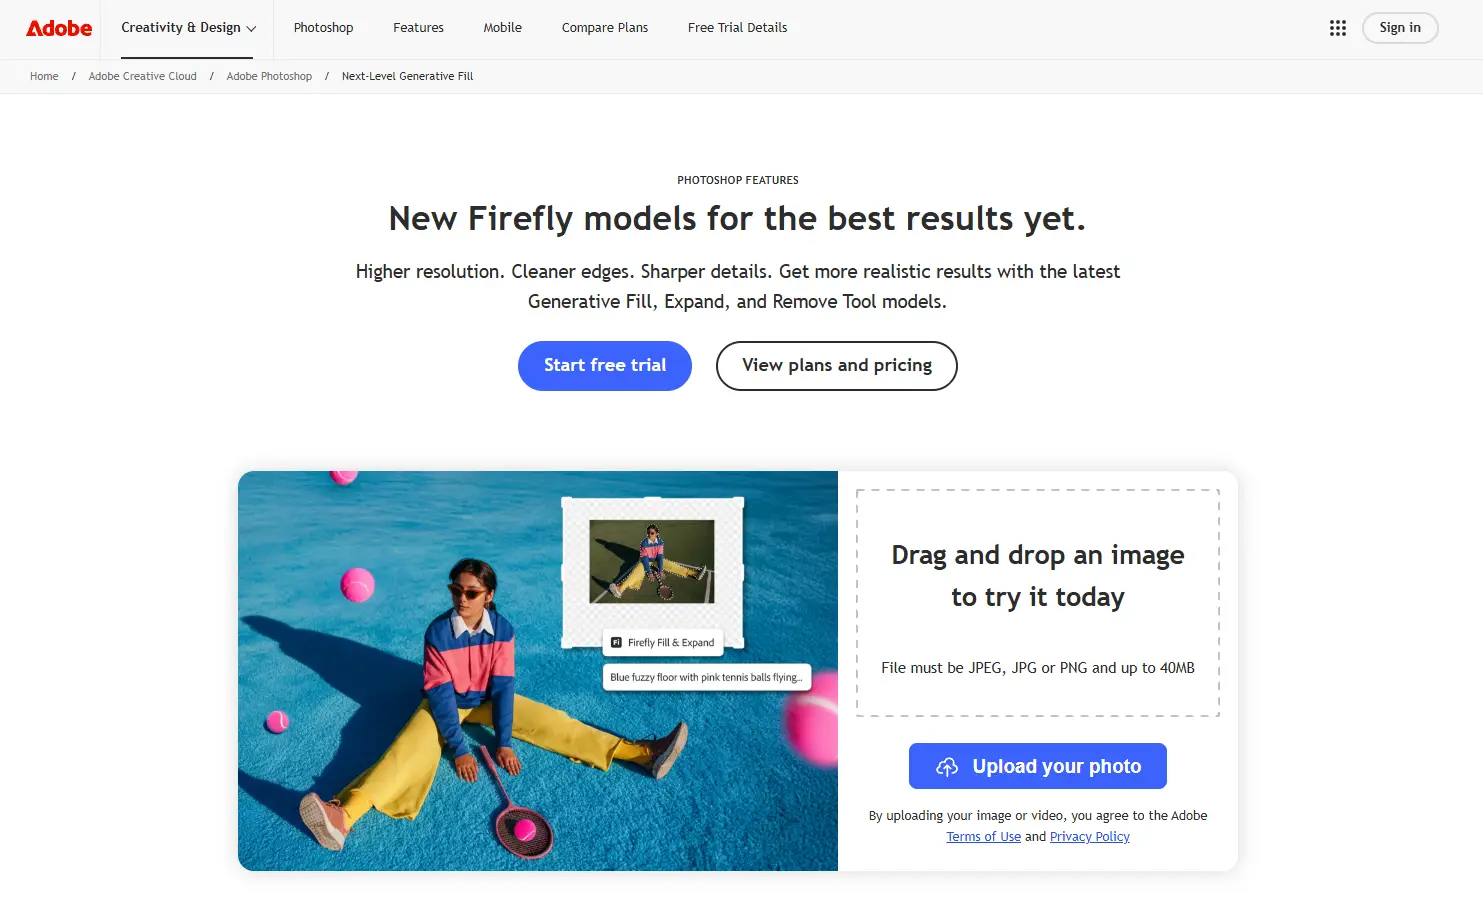
The result arrives as variations on a new layer, so you can mask, move or delete it without touching the original photo. The price of this control is the learning curve, which makes it a poor fit for someone who needs one edit.
| Detail | What to know |
|---|---|
| Approach | Select an area, write a prompt, choose a model |
| Cost | Needs Photoshop, and the web version uses one generative credit per generation |
| Models | Firefly models and partner models such as FLUX.2 pro and Gemini with Nano Banana |
| Best for | Maximum control over the result |
Pros
- Choice of Firefly and partner models
- Result arrives on a new layer
- Several variations to compare
- Reference image upload on the web version
- Mask and move the result by hand
Cons
- Learning curve
- Needs Photoshop
- Credit use per generation on the web version
- Selection size and shape affect the result
7. Gemini with Nano Banana as a Free Starting Point
The Gemini overview page says the app can combine uploaded photos into one image, and the support page says you can upload multiple images and ask for a new image based on them. Nano Banana 2 is described as free, while the newer model needs a Google AI plan.
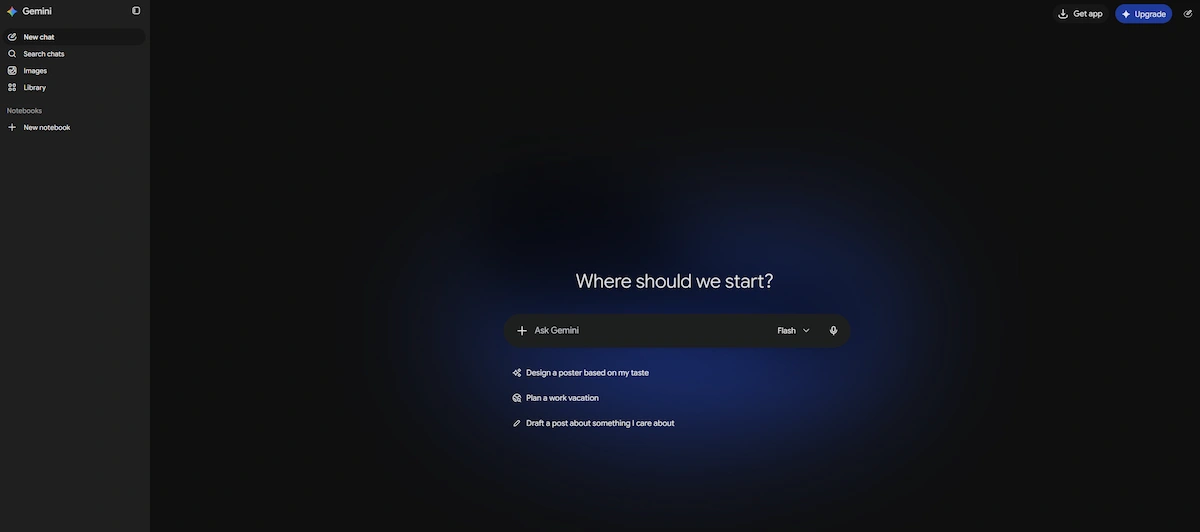
Write the request like a short brief: which photo is the background, which photo is the person, where the person stands and what must stay unchanged. If you compare chat assistants before choosing, there is a list of AI tools that work as an alternative to Claude.
| Detail | What to know |
|---|---|
| Approach | Upload photos and describe the result in chat |
| Cost | Nano Banana 2 is free with a daily quota, and the newer model needs a Google AI plan |
| Download size | 1K without a paid plan, 2K with one |
| Best for | A free first try |
Pros
- Free access to Nano Banana 2
- Combines several uploaded photos
- Can change a background, replace an object or add an element while keeping other details
- Written requests, with no tools to learn
- Paid plans raise the limits
Cons
- Daily quota on free images
- Downloads are 1K without a plan
- Images carry an invisible SynthID mark and a visible AI mark
- Editing is not available to users under 18
How to Add a Person to a Photo Step by Step
The method is the same in every tool above. Only the buttons change.
Prepare Your Two Photos
Choose a background photo and a person photo that share a similar lighting direction, camera height, distance and perspective. A close selfie will not fit a wide group shot. Pick sharp files, because faces turn soft when the tool has to scale them. If you plan a cutout, a person against a plain wall gives a cleaner edge than a person in a crowd.
Place the Person with a Prompt
- Upload the background photo first and the person photo second.
- Say which image is which, so the tool does not mix the roles.
- Name the position by pointing to someone already in the frame, for example next to the woman in the red coat.
- State what must not change: faces, clothes and everyone else in the picture.
- Generate, zoom in, and change one thing at a time in the next try.
The same steps work on a phone. Canva, Fotor and Gemini have mobile apps, and the browser versions of the other tools open on iPhone and Android. You can add a person to a photo during a coffee break if both pictures are already in your gallery.
Fix the Result with a Cutout
If the model changes the face, go back to the cutout route. Remove the background from the original person photo, place the PNG on the scene as a layer, match the lighting, brightness and perspective, and add a soft shadow under the feet. Every step in this guide works without Photoshop, except the layer masks in Generative Fill.
Prompts for Adding a Person to a Photo
A good prompt names the roles of the two images, the position and the things to keep. A weak prompt says only add this person. Here are five you can copy and change.
| Goal | Prompt |
|---|---|
| Missing friend in a group photo | Use the first photo as the background and the second photo as the person. Place the person on the far right of the group, shoulder to shoulder with the man in the blue shirt. Keep every face unchanged and match the lighting. |
| Yourself in a travel photo | Put the person from the second photo in front of the fountain, slightly left of center, facing the camera. Match the warm evening lighting and add a soft shadow on the ground. |
| Couple photo from two pictures | Place both people side by side in the garden from the first photo, with the same height difference as in real life. Keep faces and clothes exactly as uploaded. |
| Family portrait with an absent relative | Add the woman from the second photo to the back row, between the two children. Do not change anyone else and do not add extra people. |
| Product photo with a model | Place the person from the second photo in the shop doorway, holding the bag from the first photo. Keep the bag logo unchanged. |
Two habits improve every prompt. Point to a person or an object that is already in the picture, because that anchors the position better than a word like naturally. And ask for one change per try, since long prompts make the model drop a rule.
How to Make an Added Person Look Real
Most failed edits have the same causes, and each one can be fixed with a small check.
- Lighting: choose a person photo lit from the same side as the scene. Warm evening lighting and cold office lighting do not mix.
- Shadows: add a soft contact shadow where the feet or hands touch the ground or a table.
- Scale: compare the head size of the added person with the people next to them and resize until the two match.
- Perspective: keep the camera height close. A person shot from above looks like a model dropped into the scene.
- Edges: check hair and hands at 100 percent zoom and soften any hard outline.
- Overlap: place the person slightly behind someone or something, because overlap hides a weak edge.
- Sharpness and grain: if the added person is sharper than the background, add a little blur or noise to match.
- Details: glasses, jewelry and hands show a bad blend first, so look at them before anything else.
Finish with a look at the whole picture at normal size. If your eye goes straight to the added person, the picture does not look natural yet, and the cause is usually the lighting, the scale or the perspective.
Common Reasons to Add Someone to a Photo
Group Photo With a Missing Person
This is the most common request. Someone was sick, late or behind the camera. Use the group picture as the background and a clear photo of the missing person, and name a spot beside someone in the frame.
Family Portrait With an Absent Relative
A grandparent who lives abroad or a cousin who could not travel can join the family portrait. Pick a photo of that relative taken at a similar distance and in a similar mood, so the result does not look staged.
Long-Distance Couple Photo
Two people in two cities can end up in one picture. The hardest part is matching height and light, so choose photos taken outdoors in daylight, with the same lighting and perspective, if you can.
Remembering a Loved One Who Has Passed Away
People often place a deceased loved one into a wedding or graduation photo. The steps are the same as for a living person. Ask the family first, choose the clearest photo you have and keep the edit gentle, because the picture will probably be kept for years.
Marketing and Product Photos
Shops and small brands place a model into a product scene to avoid a new shoot. Small sellers who are still choosing what to sell can browse these online business ideas in Kenya. Keep logos and labels unchanged, since a model can redraw them without warning.
Is It Okay to Add Someone to a Photo Without Asking?
Ask first, even for a close friend. A photo of a person is personal, and a fake group picture can hurt someone if it spreads. Do not use an edited picture to mislead, embarrass or invent proof of an event that did not happen. For a loved one who has passed away, talk to the family before you share the result. The Gemini support page also asks users not to violate the copyright or privacy rights of others. When you post an edited image in public, say that it was edited, and keep each AI tool inside the limits of the person who appears in the picture.
Free vs Paid: What to Expect
Free AI tools to add a person to a photo usually limit the number of tries, the resolution or both. Gemini gives free access to Nano Banana 2 with a daily quota and 1K downloads. Imagine.art mentions 100 free credits at sign-up. Remove.bg gives one free credit. Fotor says its feature is free, and Generative Fill uses credits for each generation. Anyone who edits product photos for a shop every week should budget like an online business manager: count the credits for one finished image, not for one try.
Final Verdict
Among the AI tools to add a person to a photo covered here, Fotor is the simplest choice for a group photo, Gemini is the best free place to start, and Generative Fill gives the most control. Imagine.art suits a quick merge, Canva suits layouts for posters and posts, and Midjourney suits creative scenes. Use Remove.bg for cutouts only while it is available, and plan for the 1 December 2026 change. A realistic result starts with two matching photos, a prompt that names the position and one test export, and the final image should look natural at full size. If photo edits are part of a small online project, there is also a guide to starting an online business under 18.
Frequently Asked Questions
Do AI tools make an added person look realistic?
Often yes, when both photos share similar lighting and camera height. Trouble shows up in shadows, hair edges and faces, so zoom in to 100 percent before you share the picture. If the face looks changed, use a cutout of the original person instead.
How do I add a person to a photo for free?
Use a free tier. Gemini offers Nano Banana 2 for free with a daily quota, Imagine.art mentions 100 free credits at sign-up, and Fotor says its feature is free. Make a test export first so you know about any watermark or resolution limit.
Can I add multiple people to one photo?
Yes. The Fotor page says it can insert several people at once, and the Midjourney Edit model accepts up to four reference images, so multiple people are possible there too. With other tools, add one person at a time and use the result as the new background.
Can I add someone to a group photo?
Yes. Upload the group picture as the background and a separate photo of the missing person. Most tools can place multiple people this way, one after another. Name a spot next to someone in the frame, match the height of the new person to the others and tell the tool to keep everyone else unchanged.
Does this work on iPhone and Android?
Yes. Canva, Fotor and Gemini have mobile apps, and the browser versions of the other tools open on both systems. Gemini image editing is not available to users under 18, so check the account rules first.
Can I add a person to a photo without Photoshop?
Yes. Fotor, Imagine.art, Canva, Midjourney and Gemini all work without Photoshop. Only Generative Fill runs inside Photoshop, and it is the one option that suits people who already own the software.
Will the result have a watermark?
It depends on the tool. The Gemini overview says images carry an invisible and a visible AI mark. The Fotor page says exports are watermark-free, while one review disagrees. The Imagine.art page does not say. Export one test image before you commit.
Is it safe to upload family photos?
Read the privacy policy before you upload. Look for how long files are stored and whether they can be used for training. Avoid uploading photos of children to a site with unclear rules, and delete the files after the edit when the tool allows it.
Can I add a loved one who has passed away to a photo?
Yes, the steps are the same as for any other person. Choose a clear photo of the relative, ask the family if they want the edit and keep the result simple. Some people find it comforting and others do not, so share it carefully.